nginx rtmp搭建流媒体服务器 有更新!
1.下载nginx
fd6f0d4434c44ceeb03736441c18164b-nginx1.11.2.tar.gz 并解压到/usr/local/nginx-1.11.2
2.安装必要的依赖包
yum install pcre-devel
yum install openssl-devel
yum install perl-devel perl-ExtUtils-Embed
yum install gcc
yum install libxml2 libxml2-devel libxslt libxslt-devel
3.下载 nginx-rtmp-module 安装包
11ef8930367f42b9b9ffc9ce651700a3-nginxrtmpmodulemaster.zip
,最新下载地址:https://github.com/arut/nginx-rtmp-module。
下载后将其解压到/usr/local/nginx-rtmp-module-master
4. 编译rtmp模块
./configure --prefix=/usr/local/nginx --with-http_stub_status_module --with-http_gzip_static_module --with-http_ssl_module --with-http_flv_module --with-http_perl_module --with-mail --with-http_xslt_module --add-module=../nginx-rtmp-module-master
5. 修改nginx.conf文件
添加rtmp服务如下:
	rtmp {                #RTMP服务
	  server {
		  listen 1935;  #//服务端口
		  chunk_size 4096;   #//数据传输块的大小

		  application vod {
                play /opt/video/vod; #//视频文件存放位置。
		  }
		  application live{ #第一处添加的直播字段
                live on;
		  }
	  }
	}
添加http文件访问以及直播状态监控页如下:
	location /stat {     #第二处添加的location字段。
            rtmp_stat all;
            rtmp_stat_stylesheet stat.xsl;
        }

        location /stat.xsl { #第二处添加的location字段。
                root html;
        }

        location /nclients {
                proxy_pass http://127.0.0.1/stat;
                xslt_stylesheet html/nclients.xsl app='$arg_app' name='$arg_name';
                add_header Refresh "3; $request_uri";
        }
5.启动nginx
/usr/local/nginx/sbin/nginx -c /usr/local/nginx/conf/nginx.conf
6.下载并安装OBS推流软件
[https://obsproject.com/]obs官网
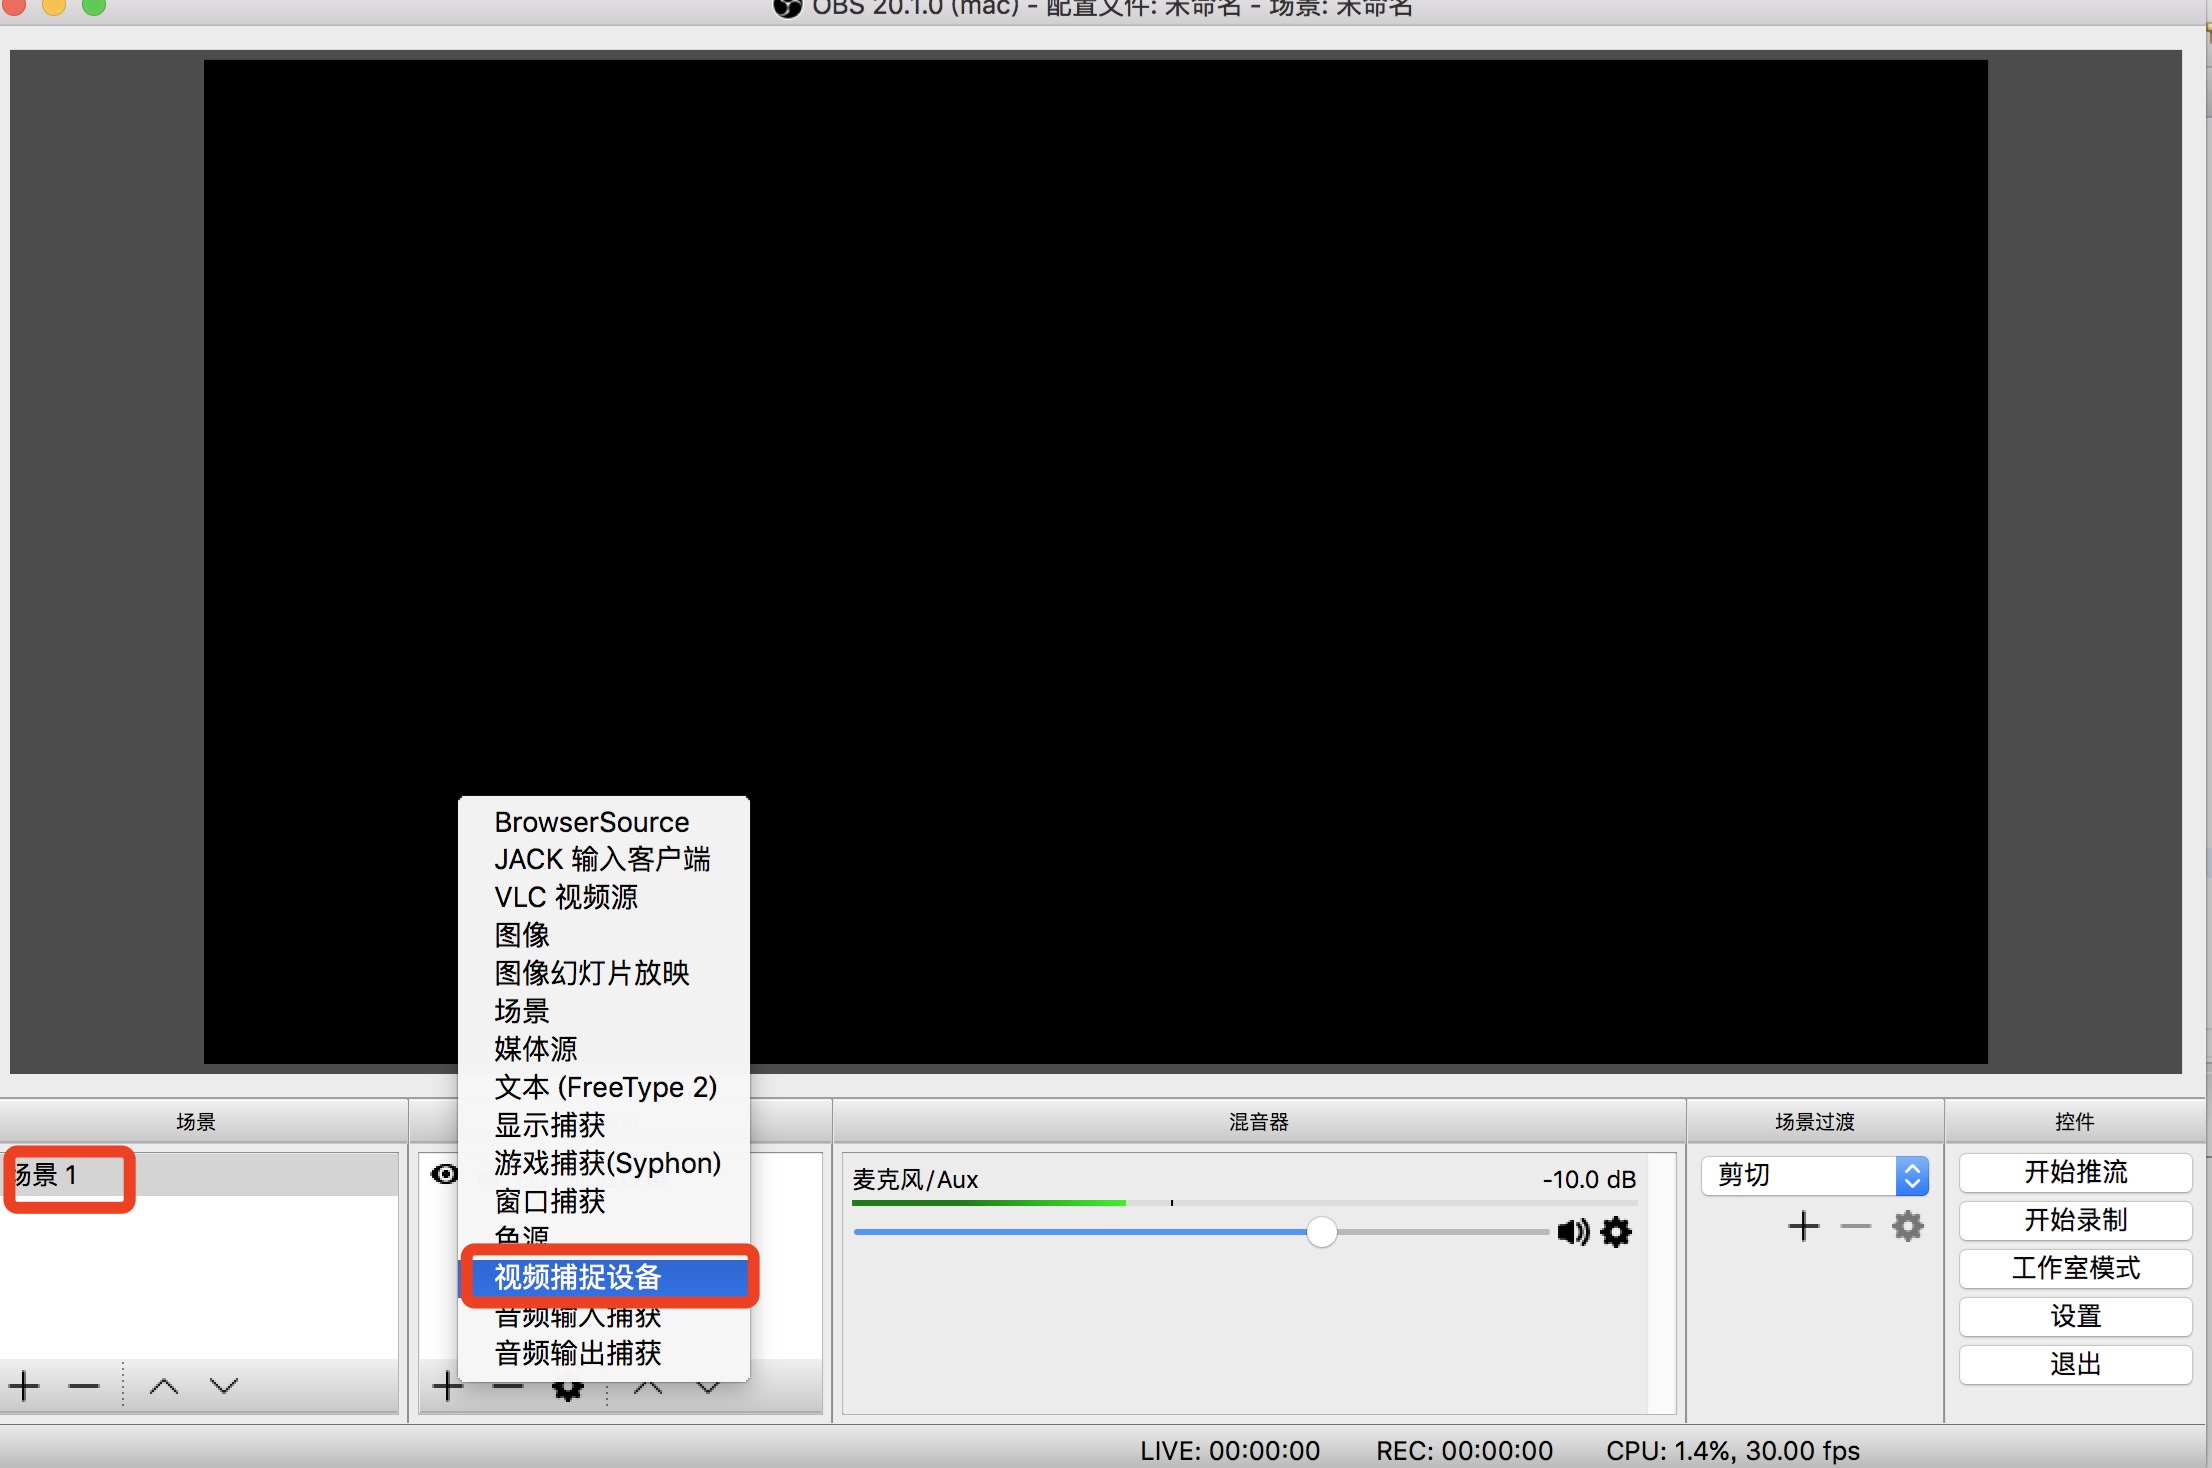
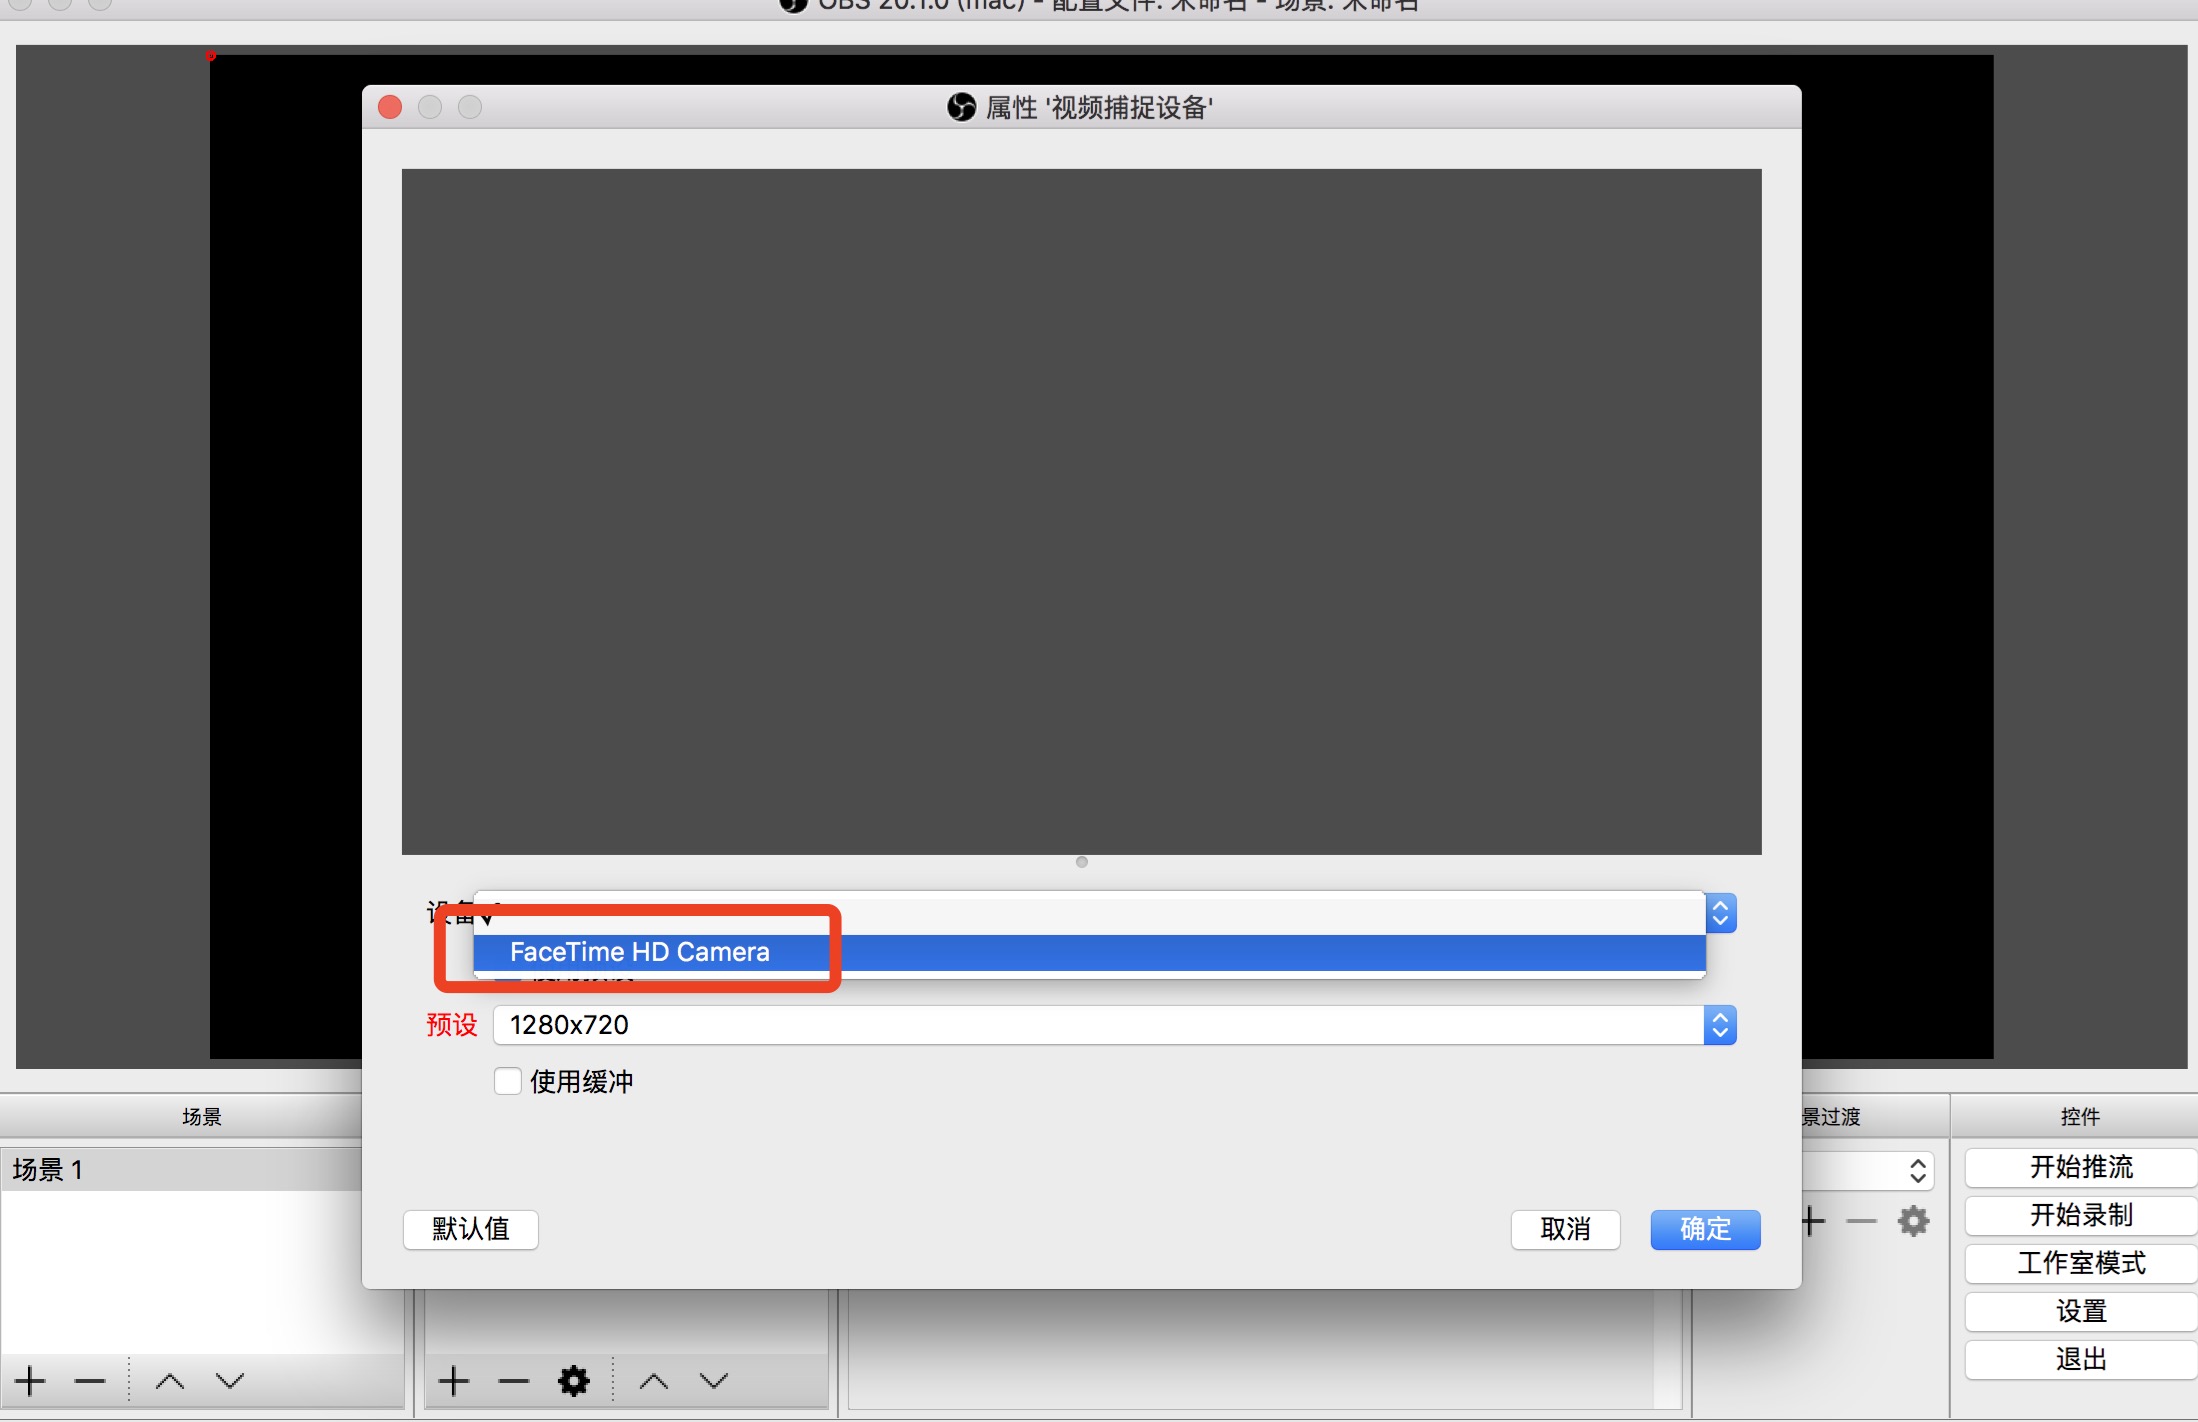
安装完成后,添加“场景”->“添加视频捕捉设备”->“选择摄像头”
7.添加推流地址
打开obs右下角设置->流-选择“自定义流媒体服务器”->填写"URL",这里的URL只写到app,例如 rtmp://ip/appName,流名称“填写你的stream和加签字符串”。
设置完毕之后,开始推流。
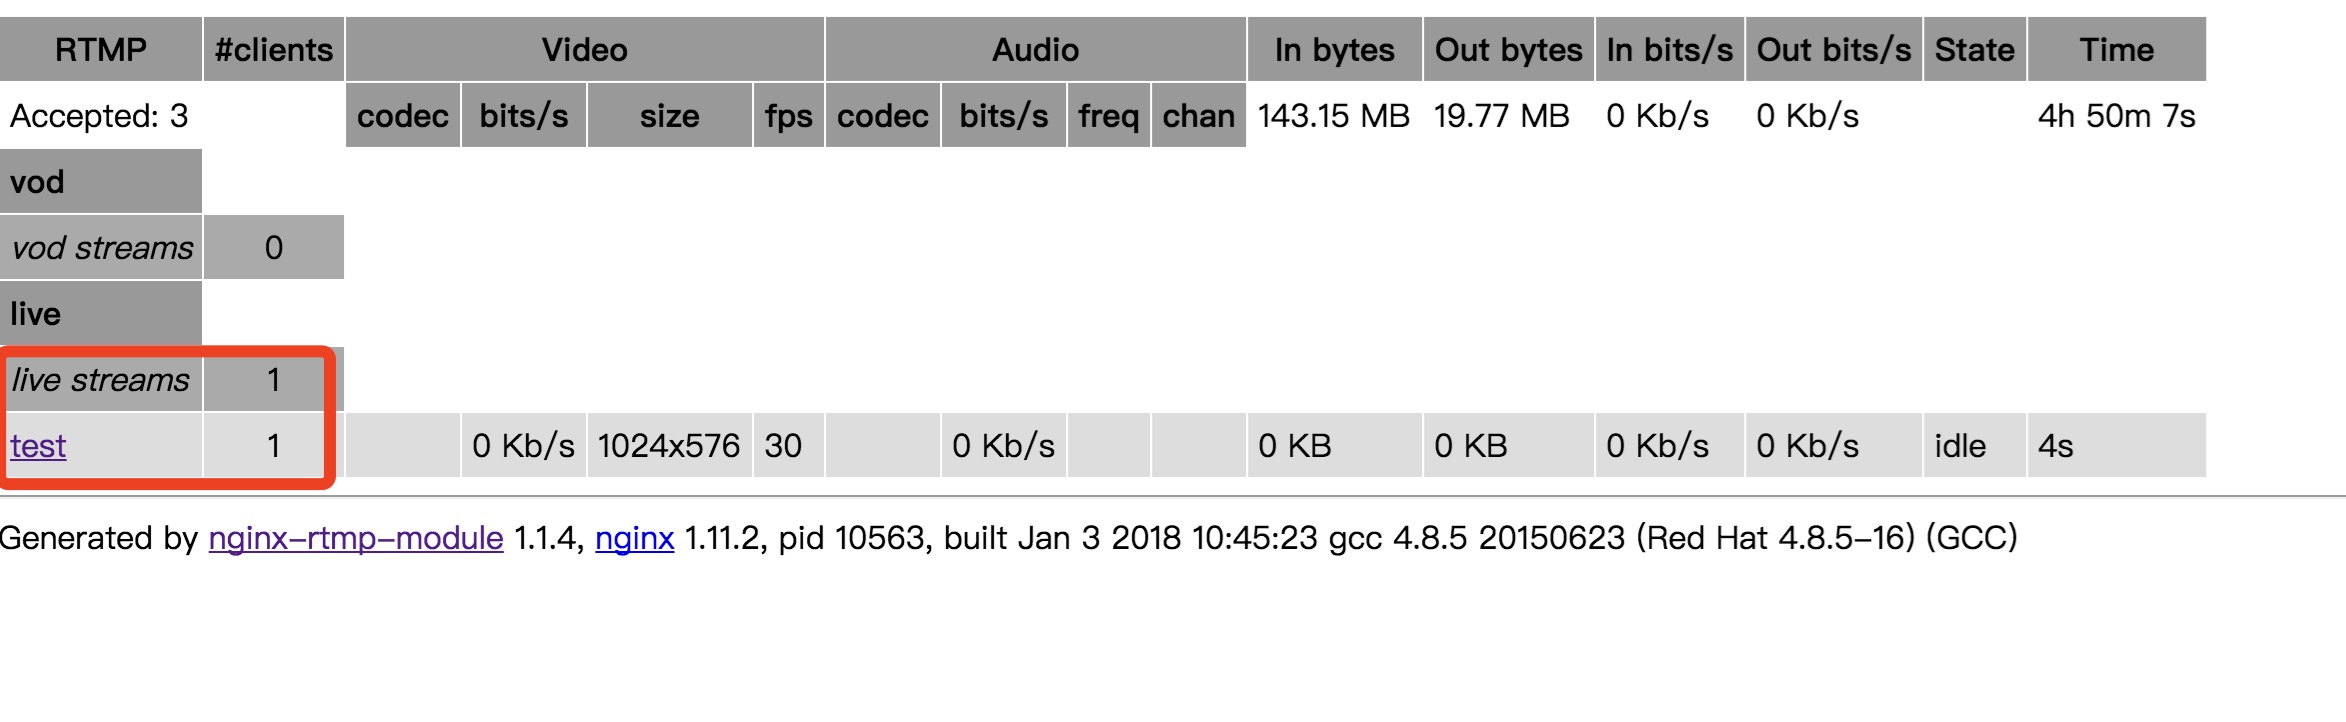
然后打开流媒体服务器监控页面:http://ip/stat(上面nginx.conf配置的),显示如下结果则live有值,则表示推流成功:
8.添加实时播放
这里我选择的是开源的播放器ckplayer,官网http://www.ckplayer.com/,下载插件,然后更改播放地址为自己的流地址
效果如下:
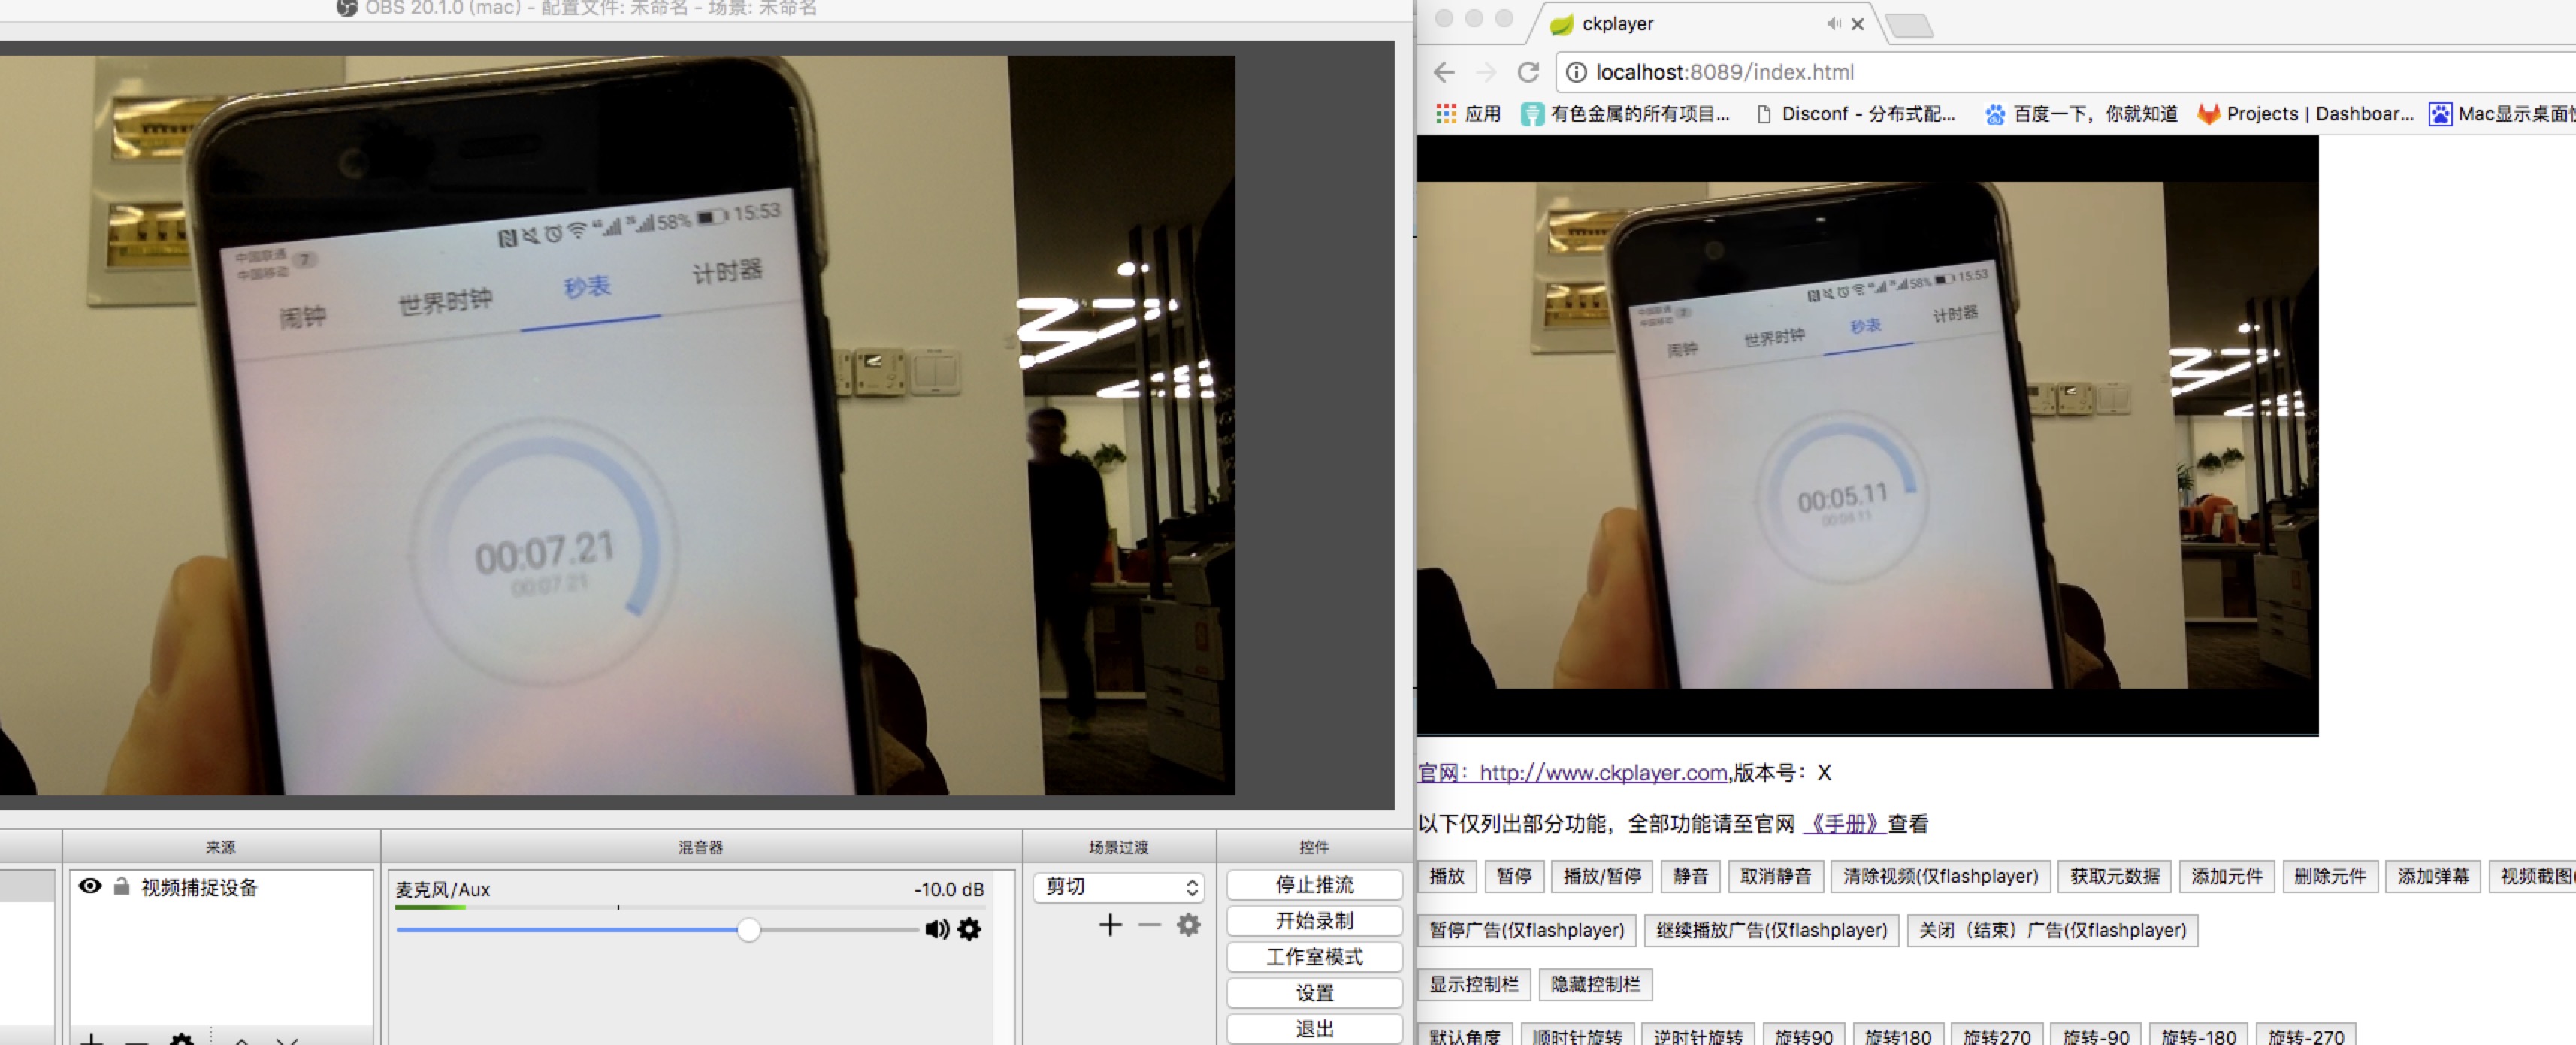
我的服务器部署在阿里云,直播的延时在3秒内,还不错哦
评论
发表评论
|
|
|